There are several tools used for carving wood. These include carving knives and gouges. One tool that was not designed for carving wood but can still be used is a chainsaw. Chainsaws are used to fell and prune trees.
However, chainsaws can also be used to carve wood. It will be a different experience from using a carving knife, but it can be done. That being said, in this article, we will be tackling how to do wood carving with a chainsaw.
Chainsaw Carving For Beginners
Step one: Choose the Best Wood For Chainsaw Carving
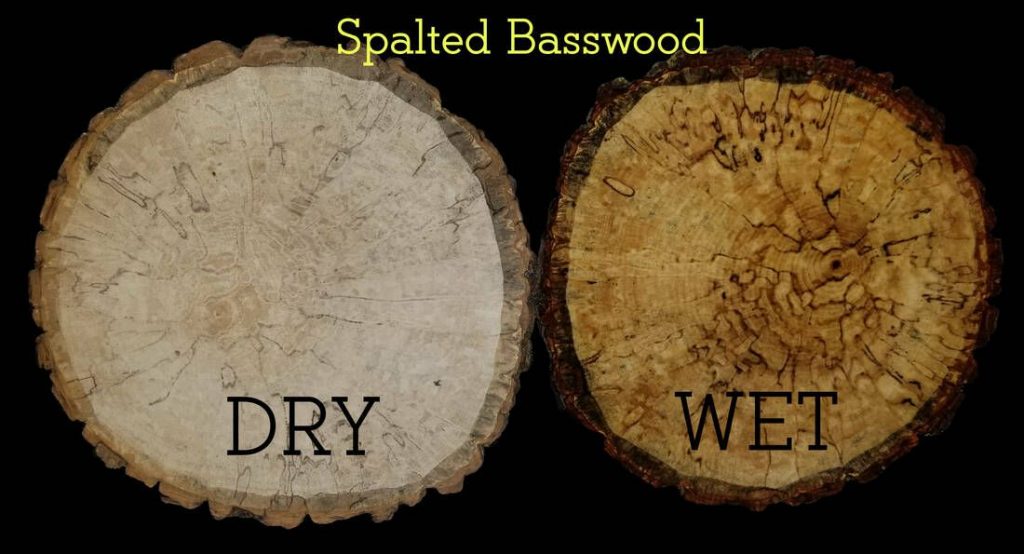
To carve wood, you need wood that is best for carving. There are two main types of wood you can use, softwood and hardwood. Hardwoods such as butternut and basswood are recommended for carving.
After selecting a wood type, the next thing is to consider whether to use it green or dry. Green wood is wood that is still fresh and has plenty of moisture in it. This type of wood tends to be softer and more comfortable to carve and is recommended for beginners.

You can also opt for dry wood. To use dry wood, you need to know how to dry wood for carving first. There are several ways of drying wood, but the most common is using a sealant such as paraffin and letting the wood dry for some weeks.
If you find your wood is too hard to carve into, you can also soften it. Softening wood can be done using several ingredients and methods. However, the best is steaming the wood with water.
Step Two: Pick The Right Chainsaw
Once you have selected the type of wood you want to carve, you will want to choose a chainsaw to carve with. Chainsaws come in different shapes and sizes. Ideally, for chopping off the larger pieces of wood, you will need a sizeable chainsaw.
However, as you transition to more intricate cuts, you will have to switch to a smaller lightweight chainsaw. Both gasoline and electric chainsaws can be used for carving wood. But to get the best result, it is recommended to stick to gasoline and corded. Cordless battery-powered chainsaws may not be powerful enough to cut through thick logs of wood.
If you are a beginner, consider a chainsaw with anti-kickback properties. More importantly, it should have a triangular guide bar for more precise awkward cuts.
Step Three: Sketch The Design First.
Ideally, if you are new to wood carving, you should start with basic shapes. It is important to sketch the design first on a piece of paper.

Next, use a permanent marker to sketch out the cuts and carvings on the wood.
Draw out the lines to cut along and the shapes you need to carve out. Alternatively, you can sketch out the design on the wood using the tip of your chainsaw.
Step Four: Anchor The Wood
To avoid the wood you are carving tipping over, ensure you anchor it. This can be done by clamping it on a workbench vise. You can also use a wide piece of plywood that is screwed to the bottom center of the wood you are carving to create a wider base.
When starting, you want to use smaller pieces of wood. However, the wood should not be too small. Wood that is 3-4 inches is ideal.
Step Five: Wear The Right Clothing For Safety
Carving wood can be a dangerous endeavor. Therefore you need to wear appropriate clothing. This will include boots, gloves, and a helmet with a visor. The clothing will protect you from flying wood particles generated when carving wood with a chainsaw.
A good jacket and a pair of trousers made from a thick material will also be important items of clothing to have on.
Step Six: Let’s Do The Wood Carving

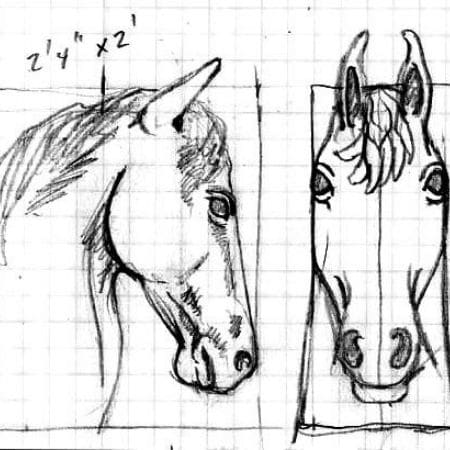
To start carving, pick out what you want to carve and draw a sketch of it, preferably on graph paper. This will give you a visual representation of what the finished product will look like. Include a one-foot marking on the carving’s height on the sketch.
Next, draw or spray the grid marking onto the wood you want to carve. Start with the general front outline. Carve out this outline using a chainsaw. Draw the side outline next and carve out the side profile.
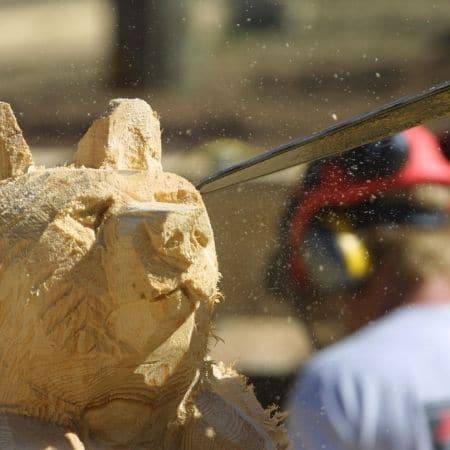
Start chopping the large parts off the wood with a chainsaw. When making the finer details on your carving, use a knife. This will allow you to make the fine details of your carving standout.
However, the carving task is not done yet. You will need to use sandpaper to smooth out the edges of the carving.
Step Seven: Carving Finishing
Wood is not as durable as stone or metal. As such, your wood carving will require a protective coating once it’s finished. This is especially if you are carving something that will predominantly stay in the outdoors.
You can apply a treatment or sealing coating to make it more durable. There are a lot of wood finishes that you can use to protect your carving from the elements.
As time goes by, you will also want to learn how to clean wood carving. Cleaning the carving will ensure it stays in good condition. However, not all carvings will require frequent maintenance and cleaning.
Chainsaw Carving Tips For Beginner
As a beginner teaching him or herself how to make wood carving, you can try many carving designs. Once you are done with the basic designs and can control and maneuver the chainsaw properly, you can move on to more complicated designs.
It is important to note that the size of the chainsaw matters. For smaller intricate carvings, a smaller chainsaw is needed. But for larger pieces of wood, you can use a larger chainsaw and switch to a smaller one when you need to make small intricate cuts.
Overall, carving wood using a chainsaw is tiresome work, and you will need to be in good shape, take breaks in between and remember to stay hydrated.
Also, the first carving may not come out as you expect. However, with practice, you will be able to create more intricate designs with your chainsaw.
